Bordernator is easy to install!
Click on the links below for a step-by-step installation guide for your operating system and version of Bordernator
Bordernator v3.0
Older versions of Bordernator
Bordernator (versions less than Bordernator 3.0)
Windows Installation
First, locate your Bordernator ZIP file and extract the folder to a convenient temporary location.
Open the Bordernator_3 folder & navigate to the ‘Bordernator_3\Windows\bordernator’ folder.
The Windows-specific version of Bordernator is contained within.
In a separate window, locate your installation of Adobe Photoshop CS4-6.
On this computer used in the screenshots, Adobe Photoshop CS6 is installed at
C:\Program Files(x86)\Adobe\Adobe Photoshop CS6.
If you have trouble finding your Photoshop installation, use the Searchbar located in the Start Menu to search for ‘Adobe Photoshop’.
Once you’ve located your Photoshop installation, navigate to the ‘Scripts’ folder, which is located at
‘Adobe Photoshop CSX > Presets’.
Copy (CTRL+C) the folder ‘bordernator’ from your extracted Bordernator zip file to the Adobe Photoshop ‘Scripts’ folder.
Bordernator is now installed and ready to be used! The only step left is to register your copy of Bordernator with your license information.
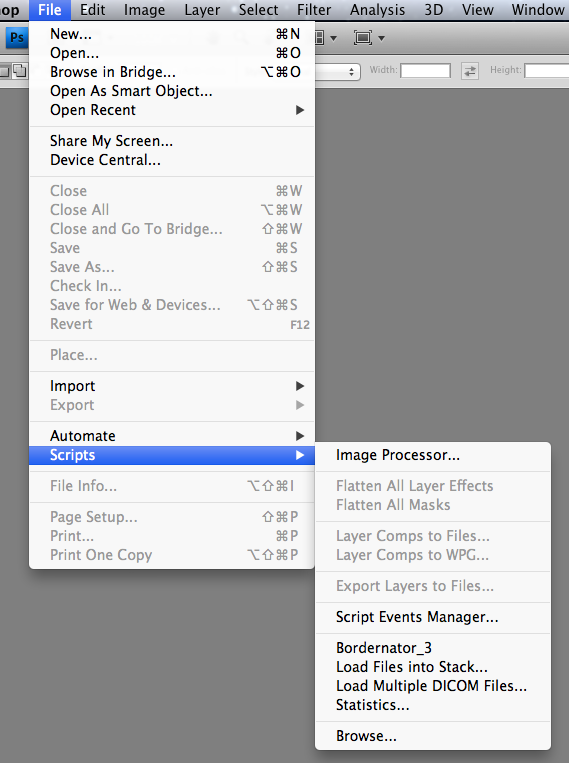
Open Adobe Photoshop CSX and click on ‘File’ in the upper left corner. Move your mouse down to the Scripts directory and you should see Bordernator_3 listed among the installed scripts.
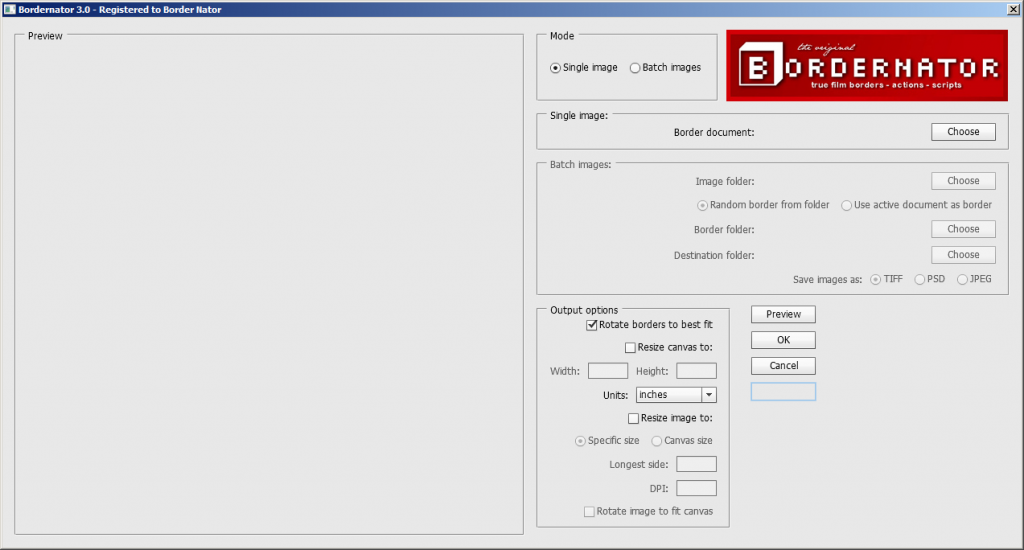
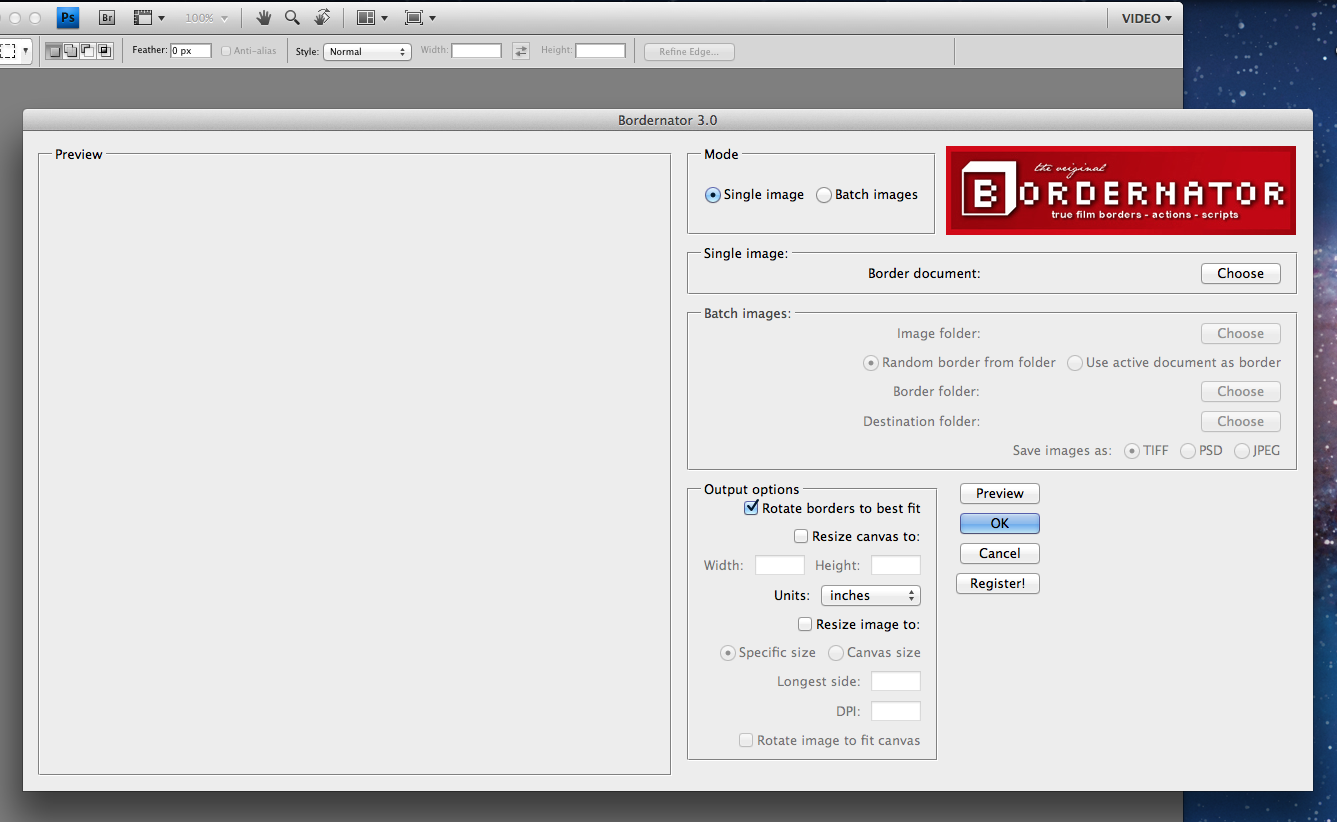
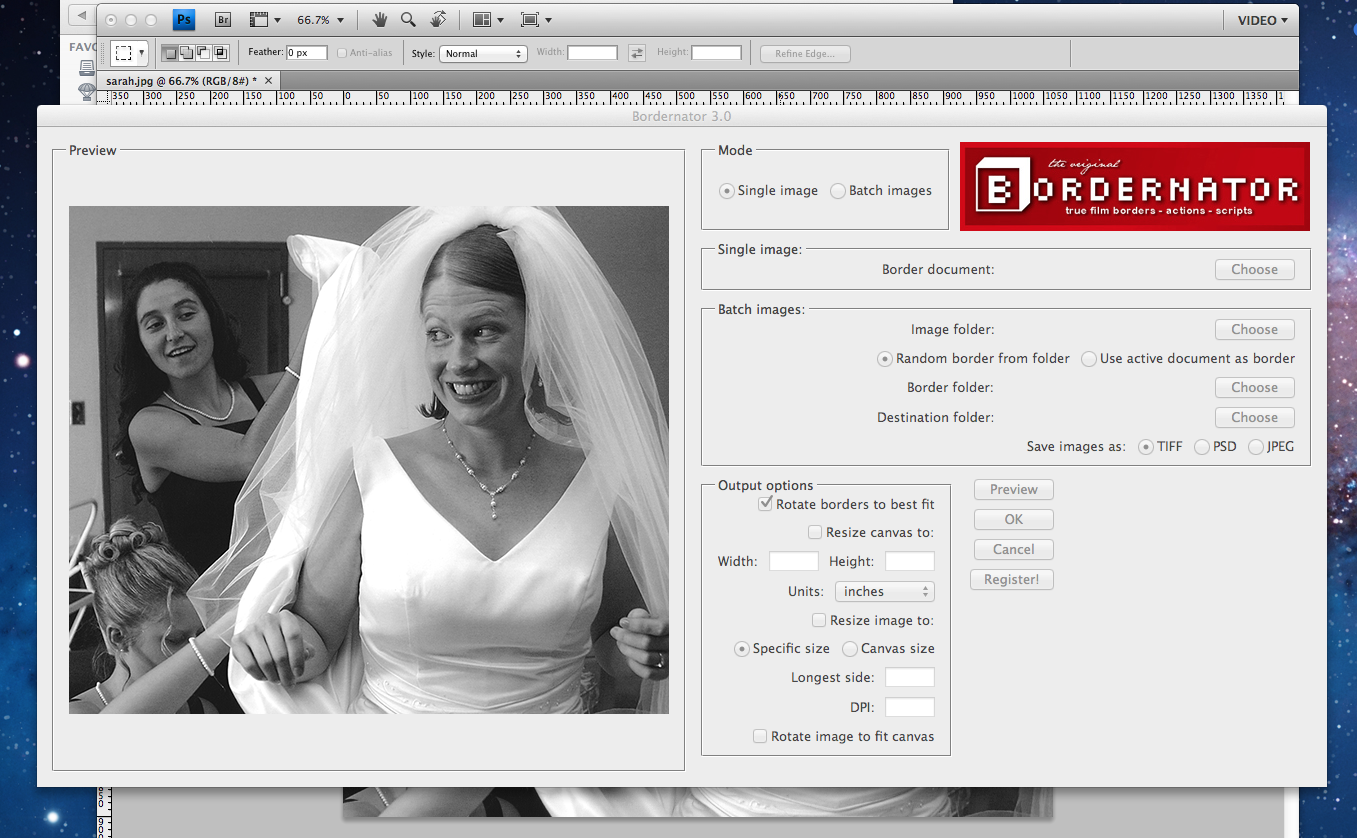
Click on ‘Bordernator_3’ and the Bordernator Script Box will open.
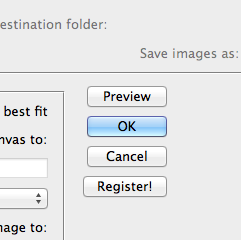
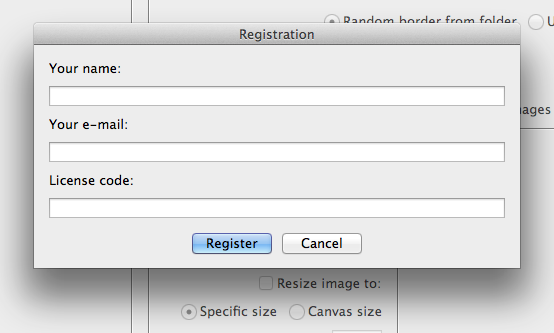
Click on ‘Register’.
The Registration popup box will appear. Fill in the details that you received in your confirmation email and press ‘Register’ when you’re done!
If your information is correct, a box will pop up and tell you that your copy of Bordernator has been successfully registered!
Your name should appear in the title bar of the Bordernator script box.
Congratulations on successfully installing Bordernator!
Mac OS X Installation
Bordernator is easy to install!
The first step is to download Bordernator (link available in confirmation email) and unzip it to an easy-to-access location.
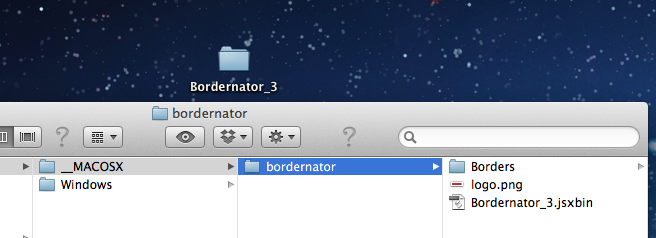
Open the Bordernator_3 folder and navigate to the ‘_MACOSX’ folder.
The ‘bordernator’ folder inside ‘_MACOSX’ contains all of the files that you will need for Bordernator. Copy it (CMD + C) and then locate your installation of Adobe Photoshop CS4-6.
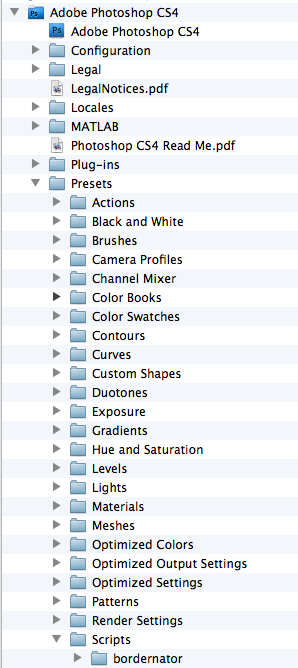
Paste the ‘bordernator’ folder into the ‘Scripts’ folder as shown above.
Next, open Adobe Photoshop and see if it has been installed correctly. Go to the File menu, then hover over Scripts. Bordernator_3 should appear in this menu (see pics below)
Click on Bordernator_3 and the Bordernator Script Box should appear.
To use Bordernator, your must have a valid license code (included in confirmation email).
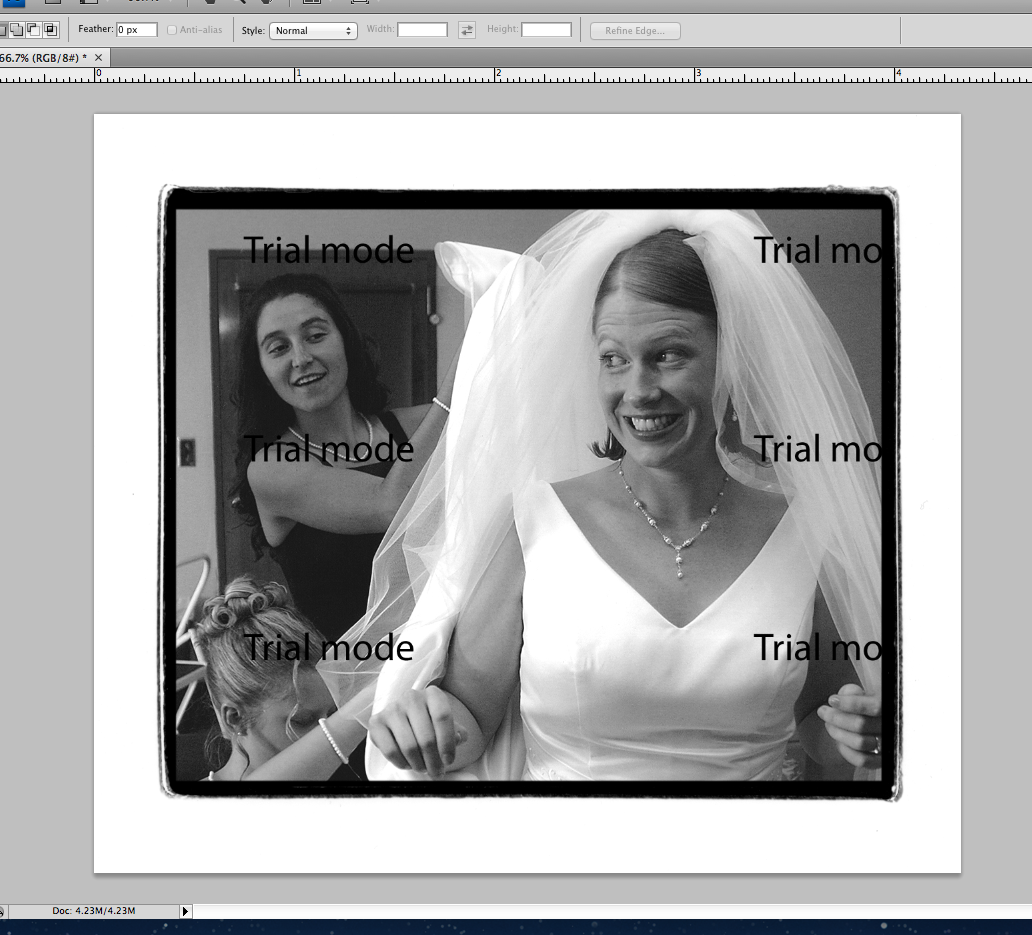
If Bordernator is not registered, all of your generated border images will display a TRIAL MODE watermark.
To register, click the Register button in the Bordernator Script Box and you will be prompted with a Registration box.
Fill in the information you received in your confirmation email and click Register.
If successful, you will be greeted with a successful registration message and the Bordernator title bar will display your name.
Congratulations! Your licensed copy of Bordernator is ready to use!
Older Versions of Bordernator (less than Bordernator 3.0)
Below are two instructional videos for installing and making the most of Bordernator.
Part One:
[embedplusvideo height=”376″ width=”550″ standard=”http://www.youtube.com/v/4QyaOXIR1bg?fs=1″ vars=”ytid=4QyaOXIR1bg&width=600&height=376&start=&stop=&rs=w&hd=0&autoplay=0&react=1&chapters=¬es=” id=”ep1240″ /]
Part Two:
[embedplusvideo height=”376″ width=”550″ standard=”http://www.youtube.com/v/y1jtwNtrnQ0?fs=1″ vars=”ytid=y1jtwNtrnQ0&width=620&height=376&start=&stop=&rs=w&hd=0&autoplay=0&react=1&chapters=¬es=” id=”ep6761″ /]

